

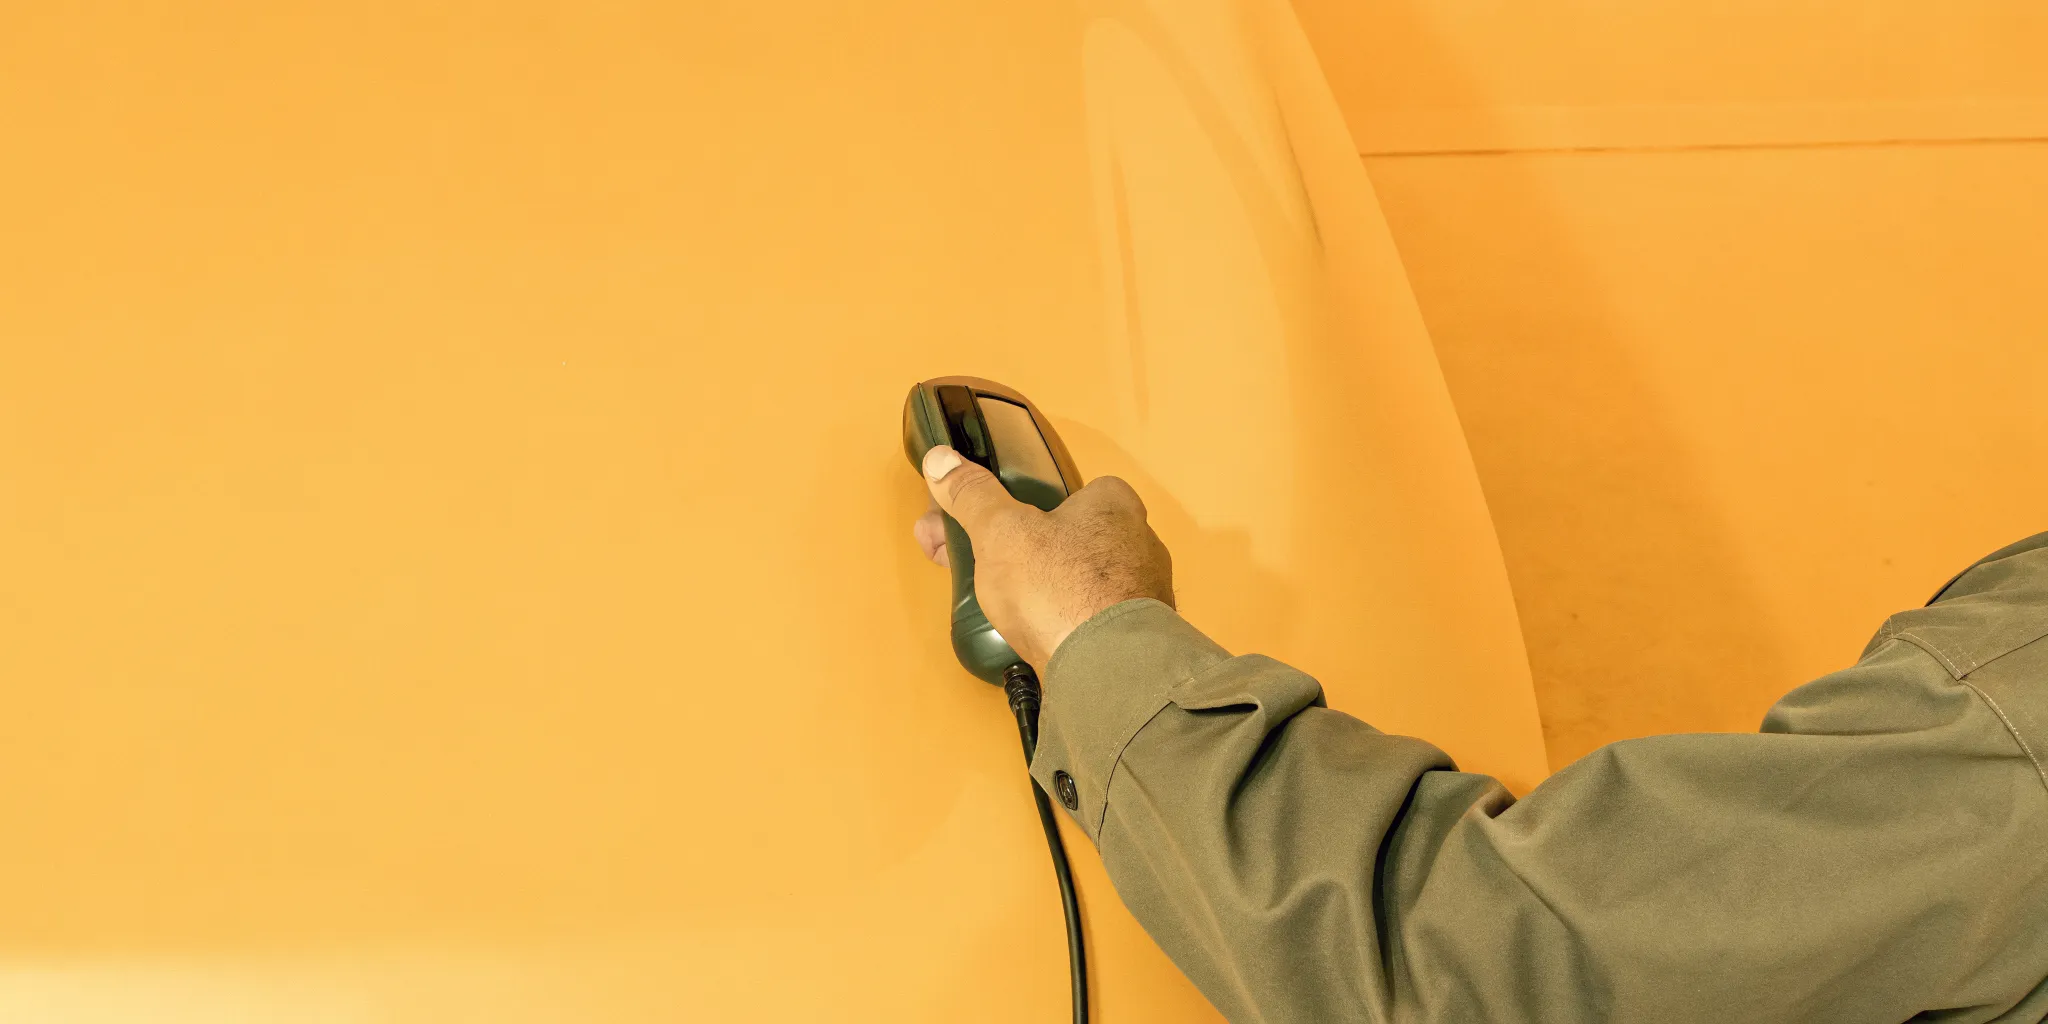
A factory paint code cannot show years of Orlando sun, fading, or past repairs. A convincing collision repair starts by matching the finish your vehicle has now.
Auto paint matching Orlando drivers can rely on starts with the factory paint code, then compares that formula with the vehicle’s current finish. Technicians inspect nearby panels and account for fading or prior repairs. They also study how metallic or pearl particles shift under different light and viewing angles. A test spray lets the painter check color, gloss, texture, and flake pattern before applying paint to the repaired area. If the test reveals a difference, the formula or spray method can be adjusted before work continues. Blending may soften the transition into adjacent panels, helping the completed repair fit the vehicle as a whole without promising an exact match.
The key question is why a code alone cannot capture the color seen beside the damaged panel. Why auto paint matching Orlando requires more than a paint code explains the checks that turn a factory formula into a repair plan. The path begins with:
Why Auto Paint Matching Requires More Than a Paint Code
A paint code gives the repair team a useful starting formula. It does not show how the finish looks on the vehicle today. For auto paint matching Orlando drivers can trust, technicians must compare that formula with the actual car.
Factory paint codes and formula variants
Vehicle makers may use more than one formula variant under the same paint code. Small shifts in pigment or production can change the final color. The team checks the code, reviews available variants, and tests the best fit before spraying a repaired part.
Metallic and pearl finishes add another challenge. Their flakes reflect light in different ways based on how the coating is mixed and sprayed. A color may look close from the front but appear lighter or darker from another angle.
Fading, prior repairs, metallics, and pearls
Age, daily use, and sun exposure can change the finish after a vehicle leaves the factory. Orlando’s strong daylight can also make small color shifts easier to spot. The EPA UV Index scale explains how UV strength changes with time, season, clouds, and location.
Technicians study the damaged area and nearby panels under more than one light source. They also look at gloss, texture, past repairs, and signs of fading. These checks help them choose a formula that fits the vehicle’s present condition, not just its factory record.
- Paint code and available formula variants
- Age, fading, gloss, and surface condition
- Metallic flake or pearl effect
- Color changes across nearby panels
- How the finish looks under different light
How Professional Auto Paint Matching Works Step by Step
Professional paint matching is more than finding a color with the same name. A technician checks the vehicle, builds a formula, tests it, and adjusts the finish before painting the repair. For drivers seeking auto paint matching in Orlando, this process helps the repaired area fit the color and gloss of nearby panels.
Damage and finish evaluation
Good auto paint matching in Orlando starts before anyone mixes color or picks up a spray gun. The first step is to study the damaged area, its edges, and the panels beside it. This review shows where paint work may be enough and where body repair may also be needed.
A scrape can look small at first glance, but the visible mark may not show the full repair area. A careful check looks for dents, sharp creases, cracked paint, chips, and spots where the finish has lifted. The technician also checks how the damaged panel meets nearby panels and trim.
This step helps define which surfaces need repair and refinishing. It also limits guesswork when planning how the new finish will meet the existing color. For a closer look at how paint work fits into the broader job, review our collision repair services.
Paint cannot hide a panel that is still bent, uneven, or out of place. Before refinishing begins, the shop must decide whether the surface needs dent repair or other body work. Areas near lamps, bumpers, doors, and safety-related parts also call for a close review.
The goal is to plan the repair in the right order. Body work comes first when it is needed, followed by surface prep and paint matching. This approach keeps the paint plan tied to the actual collision damage, rather than treating the finish as a separate issue.
Once the repair area is clear, the technician can assess the vehicle’s existing finish under useful lighting. The review may account for the factory color, the finish now on the car, and changes from age or sun exposure. Each point helps guide the next steps without assuming every panel needs the same treatment.
A complete evaluation also keeps appearance work in context with vehicle safety. The National Highway Traffic Safety Administration’s vehicle safety guidance shows why safety-related areas deserve care during any repair review. With the damage mapped first, the shop can plan body repair, preparation, and refinishing as connected parts of one job.
Computerized color matching and formula adjustment
Computerized color matching gives a refinisher a strong starting point, not a finished answer. A tool reads the color on an undamaged part of the vehicle. Software then compares that reading with a paint database and suggests a formula for mixing the repair color.
This process helps narrow the many possible shades tied to one factory paint code. That matters because two vehicles with the same code may not look identical today. Production changes, sun exposure, age, past repairs, and normal wear can all affect the color seen on the panel.
A digital reading captures useful color data, but it cannot judge the whole repair on its own. Metallic flakes can sit at different angles after paint is sprayed. Pearl layers, panel curves, light sources, and viewing angles can also change how a color appears.
The refinisher uses the suggested formula to spray a small test panel, often called a spray-out card. That sample can be checked beside the vehicle in more than one type of light. If needed, the mix or spray method is adjusted before paint reaches the repaired panel.
Paint work also calls for controls that protect workers and the shop area. The EPA collision repair campaign explains practices for reducing harmful air pollutants during refinishing. Those controls support a careful process, but they do not replace color skill or visual checks.
A skilled painter decides whether the test sample is close enough and how to blend the color into nearby panels. Blending eases the change between new paint and the existing finish. It can make a small shade difference less visible across the repair area.
Spray technique matters during that decision. Air pressure, gun distance, coat thickness, and drying time can affect the final look. The painter may adjust those parts of the process after comparing the test sample with the vehicle.
For drivers seeking auto paint matching in Orlando, the key question is not whether a shop owns matching software. Ask how the team verifies its formula, checks a spray-out, and reviews the finish under changing light. Computer data guides the choice; trained eyes confirm the result.
Final review should look beyond color alone. The team should also check gloss, texture, metallic placement, and the transition into nearby panels. A match that looks right indoors may shift in direct sun, so visual checks remain a key part of refinishing.
Spray-out testing before application
A paint code may have several formula variants because factory finishes and aging do not always look alike. The spray-out gives the technician a small, low-risk way to judge the mix before it reaches the car. If the sample looks too warm, cool, light, or dark, the formula can be adjusted and tested again.
Metallic and pearl finishes need added care because flakes can change how color appears from different angles. Spray technique, air pressure, coat thickness, and drying time can affect that look. A sample helps the painter check these effects instead of relying on a formula alone.
Why Adjacent-Panel Blending May Be Part of the Plan
Creating a gradual color transition
Painting only the damaged spot can leave a sharp edge between the new finish and the original paint. Even a well-matched formula may look different when light moves across that edge. Adjacent-panel blending helps soften the change by spreading the new color beyond the repaired area.
During a blend, the technician applies less color as the work moves away from the repair. The new color fades into the existing finish instead of stopping at one clear line. This gradual shift helps the eye read the panels as one smooth, consistent surface.
Technicians may consider blending when a repair sits near the edge of a door, fender, hood, or quarter panel. Metallic and pearl finishes can make the choice more important. Their appearance can change with the direction of the flakes and the way light strikes the panel.
Modern automotive finishes also have several layers with distinct internal structures. Research on vehicle paints shows clear structural differences between paint samples and manufacturers. That complexity helps explain why matching one small area takes care and planning. A study of automotive paint structures offers a closer look at these layered finishes.
A repaired panel sits beside parts that may have aged at a different rate. The bumper may also reflect light differently from a metal fender. Comparing these surfaces helps the painter plan where color should be placed and blended.
Blending can ease the visual shift between the repaired area and the current finish. It is one part of a broader collision repair process that includes surface prep, paint application, and finish checks. The goal is a careful match based on the whole vehicle, rather than a promise of an exact or invisible result.
Final checks should happen from several angles and in varied light. That review may reveal a shift that was not clear in the spray area. If needed, the team can adjust the color or application before the repair moves forward.
Why the refinishing area may be larger than the visible damage
A small dent or scrape does not always lead to a small paint area. The damaged panel still needs proper repair and surface preparation before color is applied. Nearby panels may then need blending so the finished color has room to make a smooth visual change.
This broader plan does not mean the nearby panels were damaged in the crash. It means the painter is managing how the repaired area meets the original finish. The goal is to avoid a visible border that draws attention to the repair.
For auto paint matching in Orlando, the full refinishing plan depends on the vehicle, color, damage location, and manufacturer procedure. Collision Center Orlando’s computerized paint color matching page explains how color matching and refinishing support the larger collision repair process.
How Preparation and Refinishing Layers Affect the Result
A close color match is only part of a sound refinishing job. The surface below the color also affects how smooth, even, and durable the finished panel looks.
For auto paint matching Orlando drivers can trust, each layer needs a clear purpose. Skipping or rushing one stage may leave flaws that become more visible after the final coat dries.
Surface preparation, primer, basecoat, and clearcoat
Preparation starts with cleaning the repair area and checking it for dents, scratches, rust, or old coating problems. The technician then sands and feathers the edges. This work creates a smooth path between the repair and nearby paint.
Dust, oil, and uneven edges can affect how later coats sit on the panel. Careful masking also keeps overspray away from glass, trim, wheels, and nearby body panels.
The prepared area must support a smooth change from repaired metal to the existing finish. If that change is uneven, fresh color and clearcoat may make the flaw easier to see.
Primer, basecoat, and clearcoat do different jobs. Primer supports a smooth surface, basecoat carries the selected color, and clearcoat adds gloss while covering the color layer.
| Stage | Main task | Why it matters |
|---|---|---|
| Surface preparation | Clean, sand, feather, and mask | Creates an even surface and keeps nearby areas clean |
| Primer | Cover and level the prepared repair | Supports a smooth base for the color coat |
| Basecoat | Apply the chosen color and blend | Builds the visible color match across the repair |
| Clearcoat | Cover the basecoat and add gloss | Protects the color layer and helps match the surrounding finish |
| Final inspection | Check color, texture, gloss, and cleanliness | Finds visible issues before the vehicle leaves the shop |
Application conditions and shop practices also matter during refinishing. The EPA collision repair campaign explains ways repair shops can reduce harmful air emissions and hazardous waste from their work.
Each coat also needs to sit evenly across the repair and blend area. Good control helps the finish avoid heavy edges, uneven gloss, and texture that stands apart from nearby panels.
Following manufacturer-specific refinishing procedures
The refinishing plan should follow the procedures and coating requirements that apply to the vehicle and repair. Primer, basecoat, and clearcoat each have a defined role, and the painter controls application and curing so the completed finish coordinates with the surrounding panels.
How the Finish Is Checked Before Delivery
Changing light and viewing angles
The final check starts after the refinished panels have cured and the car is clean. A technician views the repair under bright shop lights and from several angles. This review helps reveal changes in color, gloss, or metallic flake that may hide from one fixed position.
Lighting matters because the same color can appear different as the light source or viewing angle changes. The NIST color and appearance program explains that color measurement depends on controlled light, viewing, and instrument conditions. For auto paint matching in Orlando, a sound inspection should also consider how the finish looks outside.
A color can look close under one lamp yet shift when the viewing angle or light changes. Technicians therefore compare test cards and the repaired area from several angles and under different lighting conditions.
The review covers more than the base color. It also checks flake appearance, gloss, texture, and the transition into nearby panels. Collision Center Orlando’s computerized paint color matching supports this detailed refinishing process.
If a test card shows a visible difference, the formula returns to the tinting step. That check-and-adjust cycle helps the final repair fit the vehicle instead of merely matching a code.
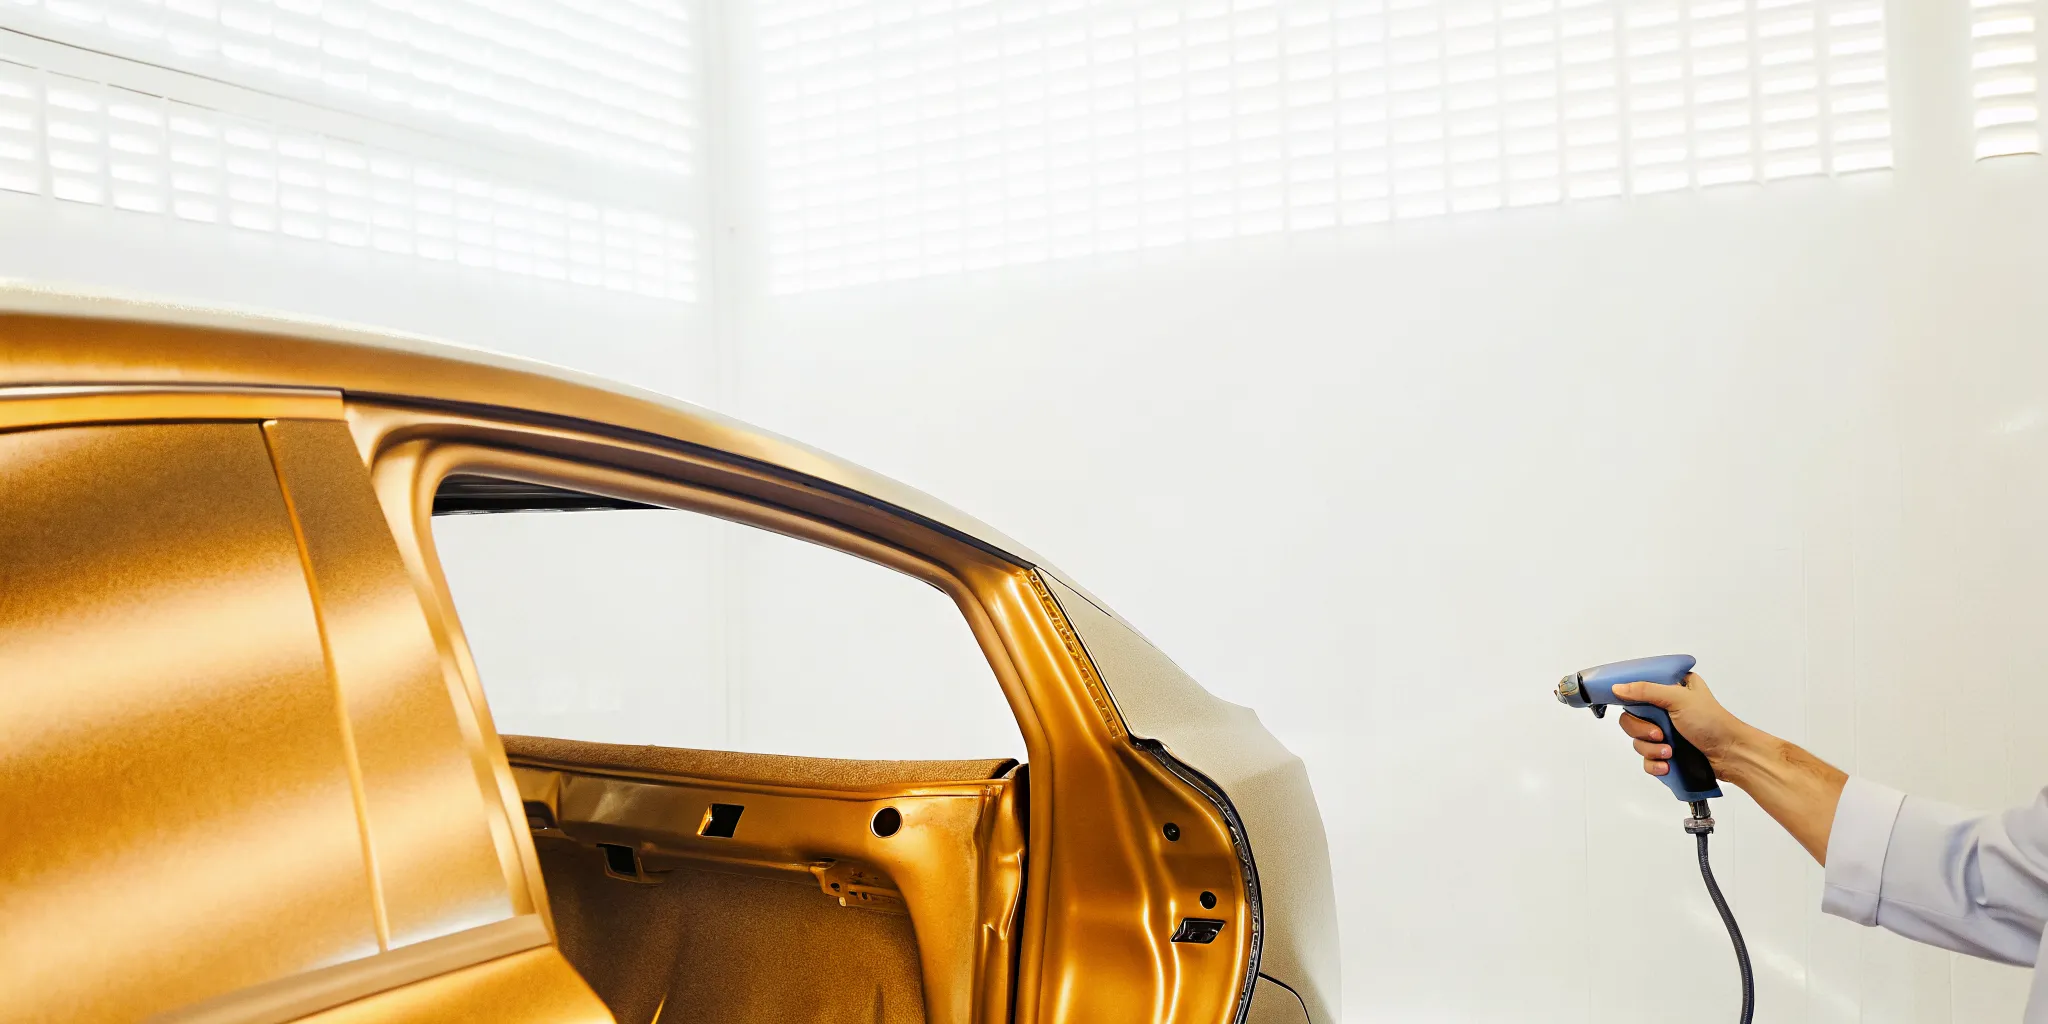
Controlled shop lighting gives the painter a steady setting for judging color after application. That stable view helps reveal changes in hue, brightness, and the overall finish. The goal is consistency during the first check, not a final decision based on indoor light alone.
Natural Orlando daylight adds another useful test because sunlight changes through the day. Direct sun, open shade, and cloudy light can each make a color look different. Checking the repaired area beside nearby original panels helps the eye spot a shift across the same lighting conditions.
This care matters because vehicle finishes are more than one simple coat. Research has shown measurable structural differences within automotive paint samples from different makers. Those layered differences help explain why color evaluation must consider the full finish, not pigment alone. A study of automotive paint structures describes how those internal layers can vary.
Color, gloss, texture, and finish-quality checks
Color is only one part of the review. The inspector also checks gloss, texture, panel edges, and the blend into nearby panels. They look for dust marks, sanding lines, overspray, runs, or other flaws that could affect the repaired area.
- Compare the repaired panel with nearby original paint.
- View the finish straight on and from side angles.
- Check the panel surface for even gloss and texture.
- Inspect trim, gaps, edges, and nearby panels for overspray.
- Confirm the repaired area is clean before delivery.
If the finish needs more work, the shop should correct it before the vehicle leaves. That may mean polishing a small surface flaw or repeating part of the refinishing process. The right fix depends on what the final inspection finds.
A responsible shop should not promise that every finish will look exact in every setting. Age, sun exposure, prior repairs, metallic flake, and changing light can affect how paint appears. The practical goal is a close, consistent match that does not draw attention during normal viewing.
Before accepting the vehicle, review the finish in good light and ask about anything that stands out. You can also use the shop’s collision repair resources to learn more about its repair process. A clear walkaround gives both you and the shop a chance to address concerns before delivery.
Compare the repaired panel with nearby original panels rather than viewing it alone. The goal is a balanced appearance across the whole vehicle. A small difference may become easier to see when light moves across the paint or the viewing angle changes.
| Check | Quality result | Warning sign |
|---|---|---|
| Color | Blends with nearby panels | Clear shift in shade or flake |
| Gloss | Even shine across the panel | Dull spots or uneven shine |
| Texture | Matches the nearby finish | Rough patches, runs, or pits |
| Overspray | Trim and glass feel clean | Paint mist on nearby surfaces |
| Edges | Clean, smooth panel borders | Hard tape lines or peeling edges |
| Viewing conditions | Consistent in sun and shade | Mismatch appears at another angle |
The table is a guide, not a reason to judge the repair under one harsh light. Metallic and pearl colors can look different as the angle changes. What matters is whether the repaired area changes in a way that stays balanced with nearby panels.
What Orlando Drivers Should Ask Before Authorizing Paint Work
A clear conversation before work begins can prevent confusion when you pick up the vehicle. Ask how the shop will match, apply, and inspect the finish. Also confirm what the written estimate covers and how insurance changes will be handled.
The match and blend plan
Start by asking how the technician will find the paint formula and adjust it for your vehicle’s current finish. Automotive coatings have several layers, and their internal structures can differ by manufacturer. A published study of automotive paints shows why matching involves more than finding a similar color.
- Will you use my vehicle’s paint code and check the color against the vehicle?
- Will you make and inspect a spray-out card before painting the repaired panel?
- Which nearby panels may need blending, and why are those blend areas needed?
- How will you match metallic flakes, pearl effects, gloss, and surface texture?
Ask the shop to explain its process for auto paint matching in Orlando without relying on broad promises. You can also review the shop’s computerized paint color matching information before discussing the planned finish. The answer should connect each step to your vehicle and the affected panels.
Repair scope, estimate, final inspection, and aftercare
Next, ask for a line-by-line explanation of the repair scope. Confirm which parts will be repaired, replaced, removed, or masked before refinishing. The estimate should separate paint labor, body labor, parts, materials, and any planned blend work.
- Does the estimate include surface preparation, primer, base coat, clear coat, and final polishing?
- Could hidden damage change the scope after parts are removed?
- How will the shop document added work and seek approval before proceeding?
- Who will coordinate estimate updates and supporting documents with the insurance company?
Paint work after a crash is often one part of a wider repair. Ask whether panel alignment or other body work must be finished before paint begins. Reviewing the planned collision repair services can help you see how refinishing fits within the full job.
Before authorizing work, ask how the shop will inspect the finish before delivery. A useful answer should cover color, gloss, texture, panel edges, and visible defects. Ask whether the team checks the vehicle under more than one lighting condition.
Also ask to inspect the repaired area with a team member at pickup. View the finish from several angles and compare it with nearby panels. Raise questions before accepting the vehicle, since the shop can explain whether a difference comes from lighting or the finish.
Finally, request written aftercare steps. Ask when you may wash the vehicle, which products to avoid, and when waxing is safe. Confirm whom to contact if you notice a finish concern after delivery, and keep the final invoice with the repair records.
Frequently Asked Questions
Can a body shop match faded or previously repaired paint?
A body shop can compare a new paint formula with the vehicle’s current finish, including areas affected by fading or earlier repairs. Technicians may inspect nearby panels, create a spray-out sample, adjust the formula, and blend color where appropriate. These steps support a close visual match, but changing light and past paintwork can prevent an exact match in every setting.
Does insurance cover paint matching and blending after a collision?
Coverage for paint matching and blending depends on the policy, claim details, repair plan, and insurer review. A repair shop can document why refinishing or blending nearby areas may be needed for a consistent appearance. Before approving work, ask which paint operations appear on the estimate and whether the insurer has authorized them.
How long does auto paint matching take?
There is no single timeline for auto paint matching after a collision. The schedule depends on the damage, required body work, paint formula, test sprays, blending needs, and curing time. Hidden damage or parts delays can also affect the overall repair. Ask the shop for a written estimate and request updates if the repair scope changes.
How should I care for freshly refinished paint after pickup?
Follow the repair shop’s care instructions because coating systems and curing conditions vary. Ask when the vehicle can be washed or waxed, and avoid abrasive cleaners until the shop says they are safe. Inspect the finish in good light after pickup. Contact the shop promptly if you notice an unusual change in color, gloss, texture, or surface condition.
Request an Auto Paint Evaluation in Orlando
Waiting to address collision-damaged paint can leave your vehicle with a finish that looks uneven and distracts from its overall appearance. Starting now gives you time to understand the paint-matching process, review the damaged areas, and plan the right next step. A detailed paint estimate can help you move forward with clear expectations for restoring a more consistent finish.
Ready to take the next step toward a better-matched finish? Before scheduling repair work, request a paint estimate to discuss the visible damage, your questions, and suitable repair options. Contact Collision Center Orlando now so you can plan the work sooner and avoid putting off a decision about your vehicle’s finish.
At Collision Center Orlando, we serve drivers across the Greater Orlando area from our facility at 6958 Venture Circle, Orlando, FL 32807. We are OEM-certified by 14 manufacturers and repair all makes and models using manufacturer-approved procedures. Schedule a Paint Estimate or call us at (321) 972-1549 to discuss your refinishing needs. Monday through Friday, 8:00 AM to 5:30 PM.