
Orlando driver’s collision repair guide
A damaged car can hide structural problems beneath a dented panel or cracked bumper. Knowing each repair stage helps Orlando drivers ask better questions and spot what matters before pickup.
Request a collision repair estimate from Collision Center Orlando
The collision repair process Orlando drivers can expect starts with a careful damage assessment and an estimate consultation that explains recommended work, parts, and costs. Technicians then disassemble affected areas as needed, repair or replace damaged parts, and address structural problems with specialized measuring and repair equipment. Next, the repaired surfaces are cleaned, sanded, primed, and refinished with paint matched to the vehicle’s color, then polished for a consistent appearance. A final inspection should confirm repair quality, finish, vehicle functions, and safety checks before the customer is called for pickup. This sequence follows established guidance that repairs begin with a careful inspection and require thorough surface preparation before primer and color-matched paint.
The details can vary with damage, parts availability, insurance review, and findings uncovered after disassembly, so clear questions matter at every handoff. Collision repair process Orlando: what to expect lays out what happens, who to speak with, and what to confirm at every stage. Here is how:
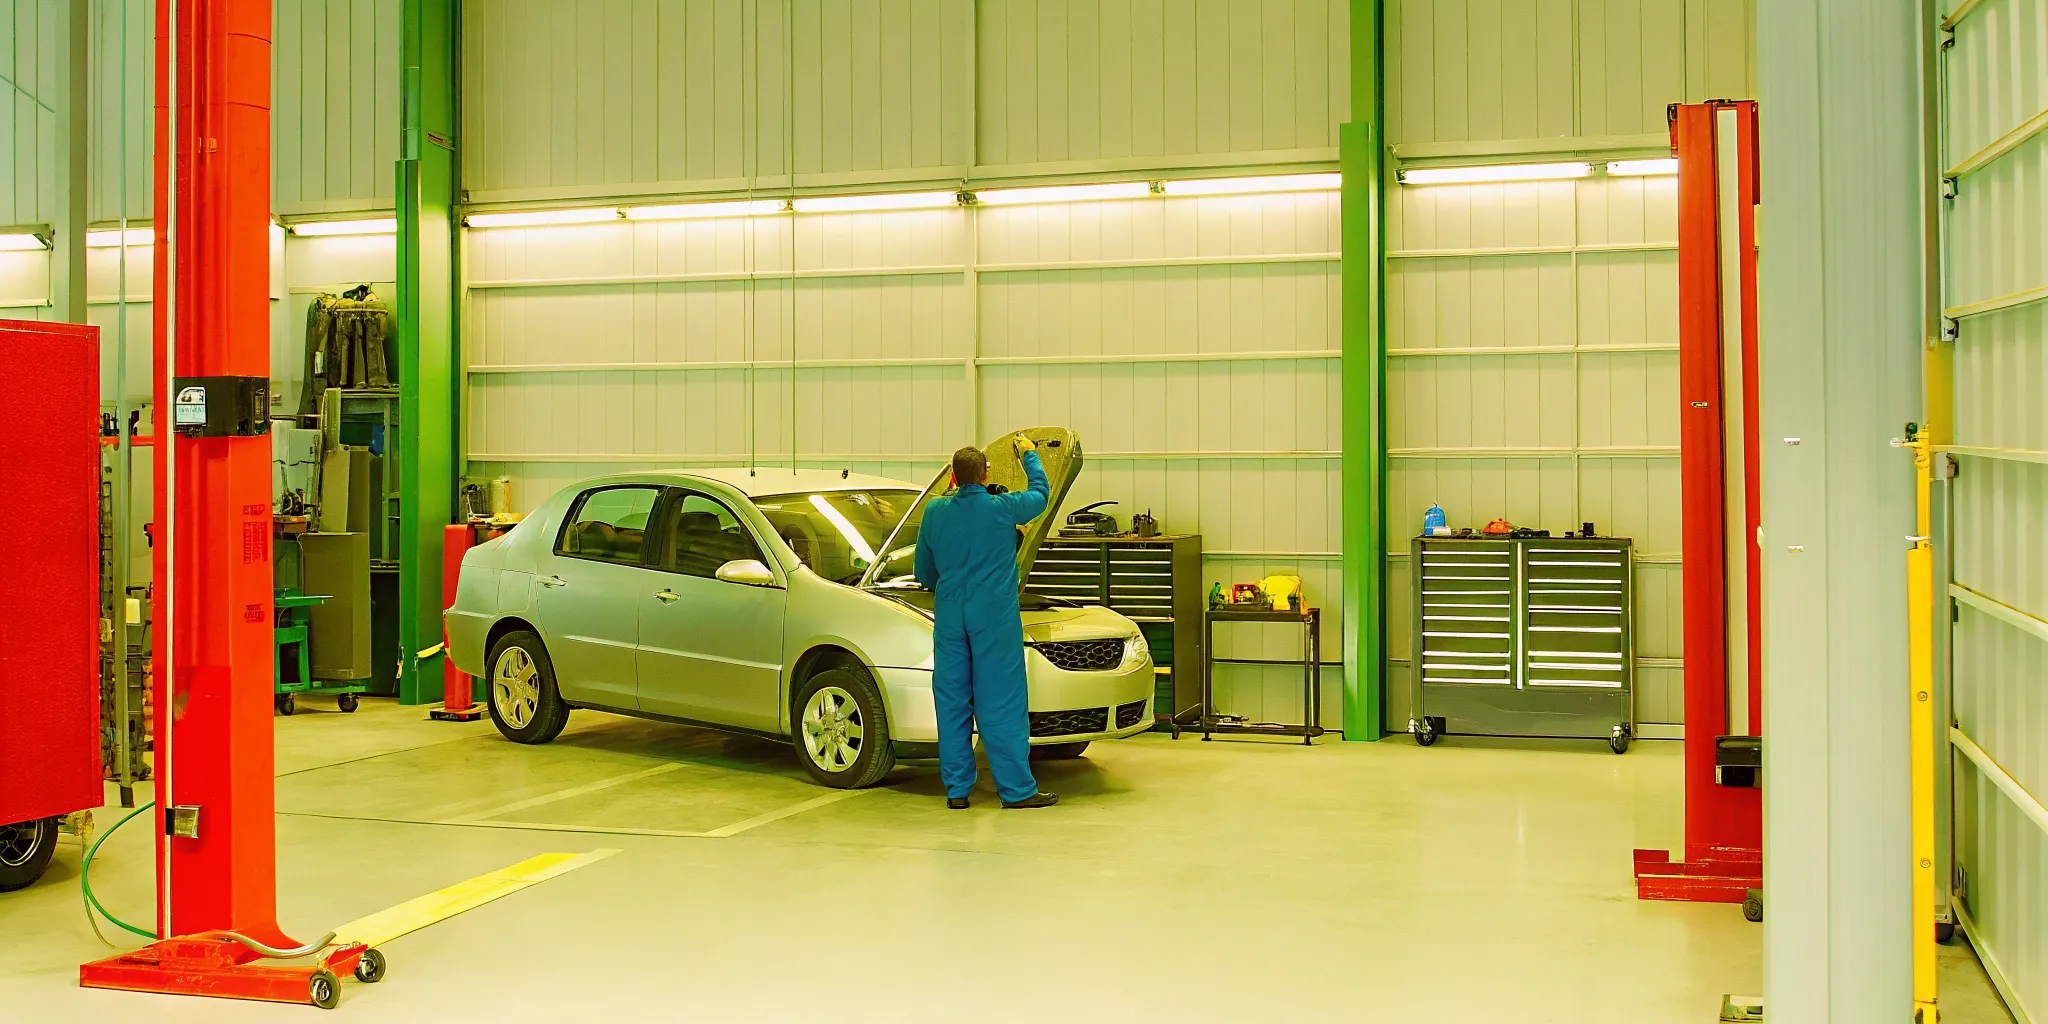
Collision repair process Orlando: what to expect
The collision repair process in Orlando starts with a full look at the damaged areas. That first review helps the shop choose the right repair method. The exact path then depends on the type and depth of damage. Parts needs, repair approvals, and findings made during the work can also affect the sequence.
Collision repair aims to restore a vehicle’s exterior after damage from a crash, weather, or wear. Collision Center Orlando provides a coordinated path that can include collision repair, structural work, auto painting, insurance claim support, and rental car coordination as the individual repair requires. Drivers can review the shop’s Orlando auto body services before discussing the vehicle-specific plan. A collision repair guide from Des Moines University notes that careful inspection should come before choosing a repair method.
Repair phases at a glance
Most jobs move through the phases below, but not every vehicle needs every type of work. A small dent may need surface work and paint. Major frame damage calls for professional repair to protect the vehicle’s safety and integrity.
| Phase | What happens | What the driver may need to do |
|---|---|---|
| Damage review | The shop inspects affected areas and plans the repair. | Share crash details and note visible concerns. |
| Approval and parts | The repair plan is confirmed, and needed parts are prepared. | Review requests and answer questions. |
| Body and frame work | Damaged panels, dents, or structural areas are repaired. | Stay available if new damage changes the plan. |
| Surface and paint work | Areas are cleaned, sanded, primed, and painted as needed. | Ask how the finish will be matched. |
| Final review | The completed work is checked before pickup. | Review the repaired areas with the shop. |
Why the repair path can change
An early inspection shows visible damage, but the full repair need may become clearer as work begins. That is why two cars from similar crashes may follow different paths. One may need body filler and paint, while another may need panel or frame work.
Paint work also has several linked steps. The repair area is cleaned and sanded to form a smooth base. Dents may be shaped with filler before primer protects exposed metal. Color-matched paint then completes the finish.
Your role during the process
Clear contact with the repair shop helps the process move through each phase. Give the shop a reliable way to reach you. Review any changes to the repair plan, and ask what those changes mean before work continues.
At pickup, look over the repaired areas and ask the shop to explain the completed work. This final review helps you understand which areas were repaired, prepared, primed, or painted.
1. Initial damage assessment and estimate consultation
The collision repair process in Orlando starts with a close look at the vehicle. An estimator records visible damage, checks nearby panels, and notes areas that may need more study. This first review helps the shop explain the likely work before repairs begin.
What the first inspection covers
The estimator should document dents, cracks, paint damage, broken trim, and gaps between body panels. Photos create a clear record of the vehicle’s condition at intake. A careful inspection helps the team choose a sound repair method, as explained in this auto body repair guide.
Drivers should mention changes that may not be easy to see. These can include new sounds, warning lights, steering issues, or a door that no longer closes well. Such details help the estimator look beyond the most obvious point of impact.
Questions to ask during the estimate
An estimate consultation is a good time to learn what the first review found. Ask which parts may need repair or replacement and whether more checks are planned. Collision Center Orlando’s collision repair service page offers more context about the work involved.
- Confirmed damage: Which damage is confirmed, and which areas still need inspection?
- Possible changes: Could the repair plan change after damaged parts are removed?
- Approvals: How will the shop explain and approve changes to the estimate?
- Records: What photos or claim details should the driver provide?
- Updates: When will the shop share the next update?
Clear answers make the estimate easier to understand. They also help drivers separate confirmed repairs from possible work that depends on a deeper inspection. Keep a copy of the estimate and note any questions that still need an answer.
Why an initial estimate can change
An initial estimate reflects what the estimator can see before disassembly. A damaged bumper cover, trim piece, or outer panel may hide damage beneath it. The shop can confirm those areas only after it removes the parts that block the view. See our overview of the bumper repair process in Orlando if your damage is focused on the bumper area.
A changed estimate does not mean the first review lacked care. It may show that disassembly revealed damage that was not visible at intake. The shop should document new findings, explain why the repair plan changed, and review the update before moving forward.
This step sets a clear baseline for the repair. It gives the driver a record of visible damage while leaving room for findings uncovered during hands-on work. That distinction helps everyone follow the repair plan as it develops.
2. Insurance coordination and repair planning
Insurance coordination runs beside the physical repair work, not after it. Clear roles help the driver, shop, and insurer track decisions without losing time or context.
Who handles each part?
As the driver, you usually open the claim and share the claim number with the repair shop. You may also choose the shop, review insurer messages, and approve work that falls outside the claim.
The shop can document visible damage, prepare an estimate, and send repair details to the insurer when authorized. Collision Center Orlando’s insurance claim auto repair guidance explains how the team helps drivers work through this part of the process.
The insurer reviews the submitted estimate and decides what the policy will cover. Coverage decisions belong to the insurer, while repair decisions should reflect the vehicle’s condition and an agreed repair plan.
Approvals, supplements, and parts
A sound plan starts with a close damage review. A careful inspection helps determine the damage extent and repair method before work moves ahead.
Some damage may stay hidden until damaged panels or parts are removed. If the shop finds added damage, it can prepare a supplement. This document updates the estimate with the new findings and sends them to the insurer for review.
The shop may need approval before completing work tied to the supplement. Parts planning also depends on the approved repair plan. Availability, fit, and insurer review can affect when each repair step begins.
- Approved work: Ask which repairs and parts have approval.
- Supplement status: Confirm whether a supplement is under review.
- Plan changes: Request notice when the repair plan changes.
- Claim records: Keep claim messages and estimates in one place.
Keeping communication clear
Choose one main contact at the shop and ask how updates will arrive. Email or text can create a useful record of approvals, added damage, and changes to the plan.
When checking status, ask direct questions: Has the insurer approved the estimate? Were new repairs found? Are any parts still pending? These questions make the collision repair process in Orlando easier to follow.
Before approving added customer-paid work, ask for the reason and written cost. Also confirm whether that work is separate from the insurer’s approved claim. Clear answers help prevent confusion as the repair moves from planning into production.
What happens when disassembly reveals hidden damage?
Disassembly turns an initial visual estimate into a more complete repair plan. An initial estimate records damage that can be seen before repairs begin. Yet a bumper cover, trim piece, or exterior panel can hide damage beneath it. Disassembly lets the repair team inspect those covered areas and compare the findings with the first repair plan.
Why some damage stays hidden
A crash can affect parts below an exterior panel even when that panel shows only a small mark. Mounting points, brackets, supports, and nearby parts may not be visible during the first walk-around. Removing damaged exterior parts gives the team a clearer view of the affected area.
This closer look is part of a careful damage review. An academic auto body repair guide notes that the affected area should be inspected to find the damage extent and proper repair method. The goal is to base the plan on what is present, not on what can be seen from outside.
How findings change the repair plan
New findings can change which parts need repair or replacement. They may also show that a nearby area needs more review before work continues. The team can then update the repair plan so it reflects the damage found during disassembly. Collision Center Orlando’s insurance claim repair support includes documenting and processing supplements when additional damage is discovered.
For drivers following the collision repair process in Orlando, this step explains why the first estimate may not be final. An estimate made before disassembly cannot include damage that was not yet visible. Changes should connect to new findings, added repair work, or parts needs.
- Hidden parts: A damaged part may become visible only after an exterior panel is removed.
- Repair method: The repair method may change after the team sees the full affected area.
- Updated estimate: Added parts or labor may lead to an updated estimate.
What an update means for the driver
An updated estimate does not always mean the first review missed obvious damage. It often means disassembly revealed conditions that could not be confirmed earlier. The update should help the driver understand what changed and why the repair plan now differs.
Drivers can ask which findings caused the change, which work was added, and whether the schedule may shift. Keeping repair records with the photos and details gathered after a car accident in Orlando can also make later updates easier to follow.
4. Structural and body repair work
Repair work starts with the damage found during the inspection and teardown. Some vehicles need only minor body work, while others need structural repairs before exterior panels can be restored. A careful inspection helps determine the damage and the right repair method.
Following the repair plan
The repair plan guides the order of work for the collision repair process in Orlando. It lists the damaged parts, planned repair methods, and checks needed as work moves forward. Technicians use that plan to avoid repairing a panel before nearby structural work is complete.
The plan may change if teardown reveals damage that was hidden behind trim, panels, or other parts. In that case, the shop can document the new findings and update the planned work. This keeps the repair tied to the vehicle’s actual condition, rather than the first visible signs of damage.
Structural repairs when needed
Structural work applies only when the inspection shows damage to the frame or another load-bearing area. Major impacts can bend or warp a frame, so that type of damage calls for professional repair. Minor dents or scrapes do not always require structural work.
When structural repair is needed, technicians address it before final body and paint work. They measure and repair the affected area based on the approved plan. This sequence gives later panel work a sound base and helps restore proper fit between adjoining parts.
Panel repair or replacement
Not every damaged panel must be replaced. A technician may repair a panel when its shape and condition allow for a sound result. Repair can include straightening the damaged area, preparing the surface, and smoothing smaller dents before refinishing. When the damage and panel allow it, paintless dent repair may preserve the existing finish by working the metal without conventional repainting.
Replacement may be the better choice when a panel is too damaged for a sound repair. The decision depends on the damage, panel material, location, and repair requirements. The shop should document that choice in the repair plan before moving to paint and reassembly.
- Panel repair: Repair may suit damage that can be restored without weakening the panel.
- Panel replacement: Replacement may suit severe tears, stretched metal, or damage near critical mounting points.
- Structural work: It is included only when the inspection supports it.
These decisions keep the work focused on what each vehicle needs. They also help the body, structural, and refinishing steps follow a clear order without adding repairs that are not supported by the inspection.
5. Refinishing and reassembly
Collision Center Orlando combines body repair, professional refinishing, and reassembly within one coordinated repair path. This helps drivers understand how repaired surfaces progress from preparation to a finished vehicle.
Professional auto painting services use computerized color matching and a multi-stage refinishing process. Collision Center Orlando uses a professional paint booth and computerized color-matching technology, then includes a final quality inspection as part of its repair workflow. Drivers who need transportation while repairs are underway can also ask about rental car coordination.
Preparing a sound surface
Refinishing starts well before color reaches the vehicle. The repaired area must be clean, even, and ready to accept each coating. Surface prep may include cleaning, sanding, and removing loose paint or rust. An auto body repair guide from Des Moines University explains that this work creates a smooth base for repairs.
The exact prep depends on the damage, panel material, and repair method. A small repaired area may need a different approach than a replaced panel. Drivers can ask which panels will be refinished and how nearby trim or glass will be protected. These questions help clarify the planned work without assuming one process fits every vehicle.
Matching color and applying the finish
After surface prep, primer helps protect exposed metal before the color coat is applied. Paint matching involves more than choosing a color name from the vehicle record. Existing paint can look different due to age, prior work, and viewing conditions. The repair plan may call for steps that help the new finish look consistent beside nearby panels.
Refinishing steps vary by paint system, repair size, and vehicle maker guidance. Each applied layer must support the next one. Drivers can ask how the shop checks color match and finish quality before reassembly. They can also ask whether nearby panels are part of the refinishing plan and why.
Curing, reassembly, and final checks
Curing lets the applied finish reach the state needed for the next stage. The curing method and timing depend on the products used and the repair. Moving ahead too soon can affect later handling. A useful conversation should focus on how the shop follows the chosen product and repair steps.
Reassembly returns removed parts, trim, lamps, seals, and hardware to their proper places. The team must take care around newly finished surfaces. The exact work depends on what was removed and which systems were involved. Useful questions for this stage include:
- Which parts were removed for access or refinishing?
- How will fit, gaps, and visible finish be checked?
- Will any affected features need a function check?
- What care instructions apply after the vehicle is returned?
Within the collision repair process Orlando drivers experience, this stage joins appearance with careful assembly. It also sets up the broader final inspection. Clear answers should reflect the actual repair, not a fixed checklist that treats every vehicle the same.

What should Orlando drivers check at final pickup?
The final review connects the completed repair plan with the condition of the vehicle at pickup. Pickup is the last stage of the collision repair process Orlando drivers see, but it should not feel rushed. The repair team checks the completed work, cleans the vehicle, and prepares the final paperwork before handing back the keys.
Shop quality and safety review
The final review should cover the repaired area and any systems affected by the damage. Collision Center Orlando’s documented process includes quality checkpoints during repair and a final inspection covering safety, function, and appearance. Technicians may check panel fit, paint finish, lights, warning messages, and the operation of parts removed during repair. A careful inspection matters throughout collision work because it helps show the extent of damage and the right repair method. This principle is explained in an academic auto body repair guide.
Safety checks vary by vehicle, repair plan, and crash damage. Some vehicles may need a wheel alignment check or calibration of cameras and sensors. Other repairs may not affect those systems at all. The final invoice should show which checks or calibrations were completed.
Your pickup review
Set aside enough time to walk around the vehicle and review the work with a shop representative. Use this short sequence before leaving:
- Compare the finished repair with the approved estimate. Ask the representative to explain any added parts, labor, or repair steps shown on the final paperwork.
- Look at the repaired area in good light. Check panel gaps, paint color, trim, glass, and the clean finish around the work area.
- Open doors, the hood, or the trunk when those areas were involved. Confirm that each part opens, closes, latches, and seals as expected.
- Start the vehicle and check the dash for warning lights. Ask whether scans, alignments, road tests, or sensor calibrations were needed and completed.
- Review the invoice, parts details, payment records, and care instructions. Keep these documents with your repair records in case questions come up later.
Questions before leaving
Ask what was checked after the repair and whether any follow-up is needed. Also ask about paint care, replaced parts, and signs that should prompt a call to the shop. Clear answers make the final paperwork easier to understand.
Before driving away, adjust the seat and mirrors if they were moved. Then test the vehicle at low speed and listen for new sounds. If a warning light appears or something does not work as expected, stop and tell the repair team. The shop can review the concern before you leave.
How long does the collision repair process take?
There is no single reliable timeline for every collision repair. A repair plan depends on the location and extent of the damage, what is found after panels are removed, the parts required, insurer approvals when a claim is involved, and the refinishing work needed. A light exterior repair and a repair involving structural or hidden damage will follow different paths.
The clearest way to understand timing is to ask for updates at major decision points:
- After the initial assessment, ask what is visible and what still needs closer review.
- After disassembly, ask whether the repair plan or estimate changed.
- If parts or approvals affect progress, ask what remains outstanding.
- Before pickup, ask what final checks remain.
A good estimate consultation should explain the known scope while acknowledging what cannot yet be confirmed. Staying available for questions and reviewing updated information promptly can also help keep decisions moving.
Get help understanding the insurance claim repair process
Frequently Asked Questions
How long does the collision repair process take in Orlando?
Repair time depends on the damage, parts availability, repair complexity, and any added work found after disassembly. A minor exterior repair may require fewer steps than structural work or extensive refinishing. Ask the repair center for a written timeline after the damage assessment. Check for updates during the repair because the expected pickup date can change as work progresses.
What happens if a repair shop finds hidden damage after the estimate?
Hidden damage may become visible only after damaged panels or parts are removed. The repair center should document the new findings, explain the added work, and update the estimate before continuing. If an insurance claim is involved, the shop may also submit the additional damage for review. Ask how the discovery affects the repair plan, cost, and expected completion date.
Can I drive my car before collision repairs are completed?
Whether a damaged car is safe to drive depends on the location and severity of the damage. Problems involving the frame, steering, lights, tires, airbags, or leaking fluids may create serious safety risks. Major frame damage requires professional attention to protect vehicle integrity, according to this auto body repair guide. When uncertain, avoid driving and request a professional assessment.
How does a collision repair shop match my vehicle’s paint?
Paint matching involves identifying the vehicle’s color, preparing the repaired surface, and applying the finish in controlled layers. Surface preparation may include cleaning, sanding, and priming before color-matched paint is applied. This repair guide explains that primer protects exposed metal before matching paint is sprayed. The shop should inspect the finish for color consistency before pickup.
What should I check when picking up my car after collision repair?
Review the final repair summary and compare it with the approved estimate before leaving the shop. Inspect repaired panels, paint color, gaps, lights, warning indicators, and any areas listed in the paperwork. Ask which safety and quality checks were completed. Confirm that the vehicle drives normally and request an explanation of any care instructions, warranty terms, or follow-up steps.
Ready to discuss your vehicle’s repair?
Every collision repair begins with understanding the damage and building the right plan for the vehicle. Contact Collision Center Orlando to request an estimate consultation and get clear next steps for your situation.
Preparing for the estimate is the first practical step in a clear repair plan. Use this collision repair estimate Orlando checklist to gather the vehicle details, damage photos, insurance information, and questions your estimator may need.